After publishing the NanoMotionRig, I am now starting the construction of the next project: the MidiMotionRig.
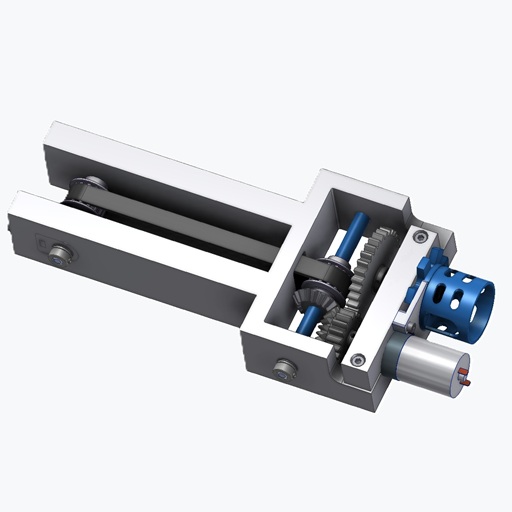
Like its predecessor, this is again a desk-sized driving simulator. Compared to the NanoMotionRig, however, it already uses slightly more advanced hardware. In this version, Hall effect sensors are used for position feedback, along with a Sabertooth 2×32 motor driver as the motor controller.
For the actuators themselves, the components remain intentionally modest for now — 12-V geared motors are used.
So why not build a full-scale, human-carrying simulator right away?
A system of this size makes it possible to test many concepts without requiring much space. At the same time, the overall setup can be explored and refined without immediately having to work with large and correspondingly expensive components.
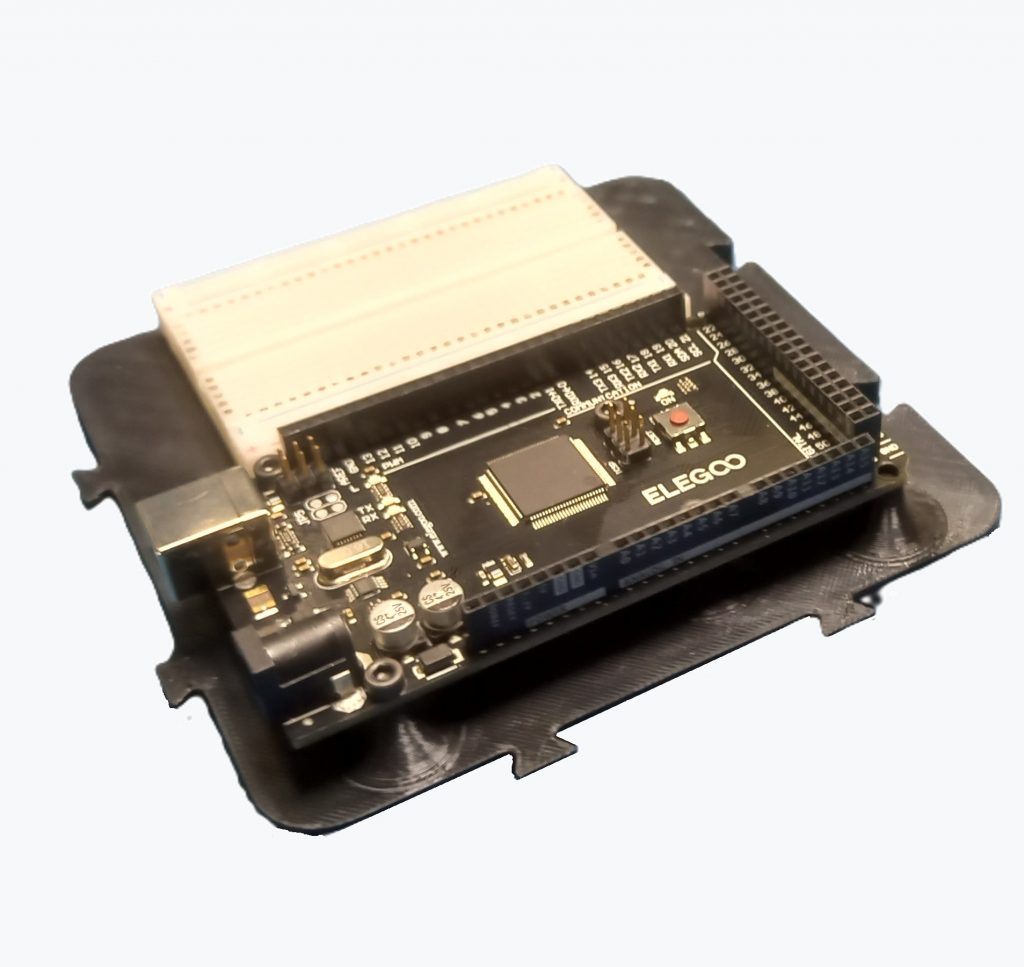
Another advantage of this approach is that the hardware grows together with the development stages. Components such as the Hall sensors or the Sabertooth motor controller are deliberately chosen so that they can later be reused in larger versions of the simulator. The Arduino used in the NanoMotionRig can also be used again here. In other words, the hardware is not replaced but carried forward from one development stage to the next and expanded step by step.
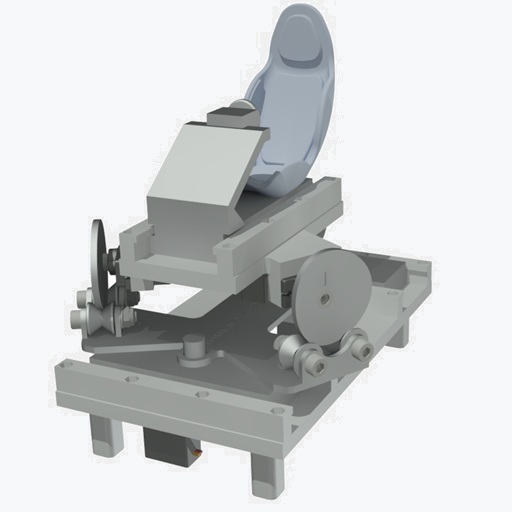
This time, the design is intentionally developed from the inside out. For this purpose, the simulator is divided into several functional modules:
1.) Surge
2.) Pitch and Roll (2DOF Seat Mover)
3.) Heave
4.) Sway and Yaw
This approach makes it possible to think through and design the individual motion axes separately at first. At the same time, the entire system is structured so that individual modules can also be built independently. For example, anyone who initially wants to build only a seat mover can start with this module and later expand the simulator step by step with additional motion axes.
Here is a first look at the current state of the design:
The design is, of course, still at an early stage. Anyone interested can follow the further design and construction process here on the blog.